I am going to create the "Sheikh Zayed Grand Mosque" as game environment in Maya for the next few months.
I will build the exterior fist and then the interior. The first day I blocked it out in Maya and then decided to work on the area around the Sahn (courtyard) called Riwaq.
The Riwaq is created by arches and the way I decided to create them in Maya was by using the SVG tool. I went to Illustrator by using the pen tool created the form I needed than copied and pasted into Maya. The SVG tool created a polygon mesh in the shape I created in Illustrator. After that I deleted the edges I didn't need. I also deleted the front and back faces of the mesh. The next step was to select all of the outer edges and extruded them.
Next I created the dome of the Mosque. I used a Sphere Polygon for the base of the dome. First I deleted the faces on the bottom and by using the vertices I reshaped it in the form I needed.
The next step was to create the top of the dome. I used Sphere and Torus Polygons. By using the vertices I reshaped them and used the target weld toll and the then I merged the vertices.
Then I combined the base and the top of the Dome and merged the vertices.
Next step wa to create the bottom of the dome. I selected the bottom ages of the dome above and extruded it a few time until I got the wanted result.
Then I created the shape of the windows by using a cylinder polygon. Then I selected the dome and made it live after that selected the vertex of the windows shape and snap them to the dome in the wanted area. Next was to delete the faces of the dome where the windows shape is going to be. Then selected the dome and the windows polygons and combined them. next step was to snap the the vertex of the windows to the dome. Next was to select the faces of the windows and extrude them push them inside. I created one window and then I duplicated by using duplicate spacial all around.
For the next part I just copied and past the domes around the shape. For the windows on the bottom part I followed the same steps.
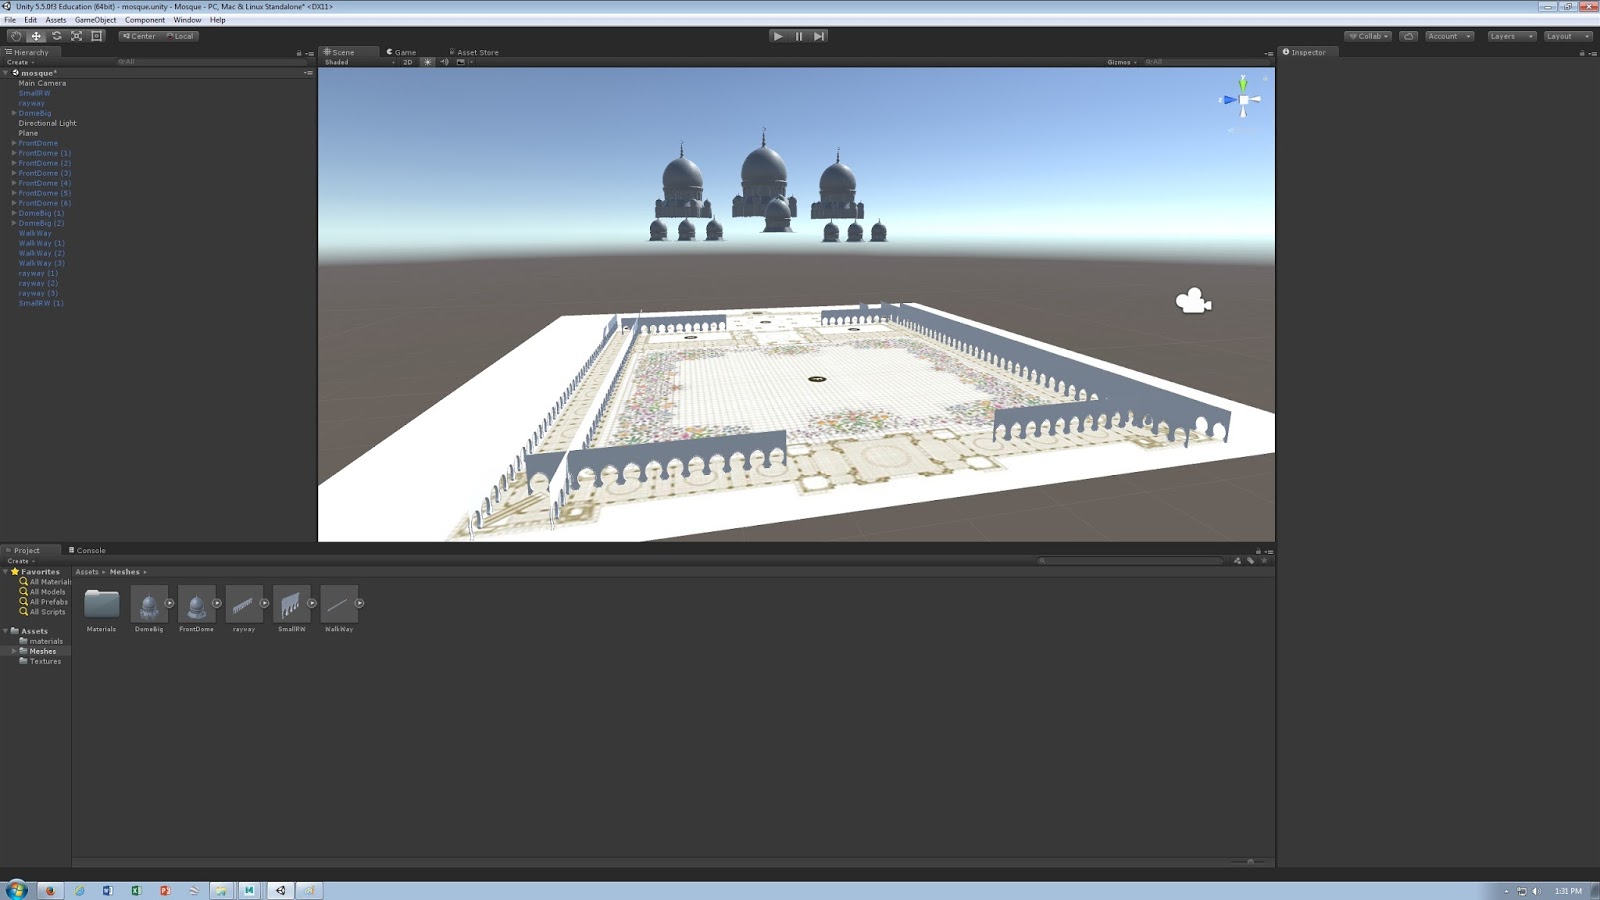
Next I exported the object as FBX and uploaded into Unity.
Also exported the
Riwaq and uploaded into Unity.